Gates of the Abyss
Gates of the Abyss — endgame demonic-themed raid (10 players). Level 88+. Drops endgame gear (one tier below Hand of Storms), demonic cosmetics, rare consumables.
Цю статтю ще не перекладено вашою мовою. Показано оригінальну англійську версію.
Overview
Gates of the Abyss is one of Forsaken World's endgame raids — an endgame raid located at the gates of the underworld. Themed around demonic incursions, with multiple boss phases requiring coordinated mechanics. Gates of the Abyss is a popular raid for pre-cap raid groups — drop tier slightly below Hand of Storms but accessible to slightly less-geared players.
This article covers entrance requirements, encounter mechanics, drop tables, and progression strategy. For broader endgame planning, see World Bosses and Arena.
Journey through the Gates of the Abyss
Your journey in the world of Eyr has just begun, but once you reach level 30, you are challenged by the dark side of power. You are invited to penetrate the Abyss and punish the arrogant minions of Dokaru Lunar - the Nagas! This adventure is not easy, but the reward will be worth it. Gather a team of brave heroes and march towards victory over the dark side!
General Description
The Gates of the Abyss is part of the Challenge Expedition I. You can enter it with a certain probability by applying for the "Random Challenge Expedition I" in the party window, accessed via the hotkey "T" or the 
The Gates of the Abyss is designed for characters above level 30. During the expedition, you will face 4 different bosses, defeating whom will earn you level 30 blue equipment, Lionheart Knight Tokens, which can be exchanged for parts of the novice hero set (suitable for characters level 30-60), and a large number of star shards to enhance this equipment. Star shards also drop from mobs encountered between bosses. Throughout the expedition, you can find deposits of first, second, and third-level ores and herbs, which you can mine to increase your mining and herbalism profession levels.
Walkthrough
If your character's level is low (30+), and your skills are lacking, follow these recommendations:
- Have a healer in the party - Priest, Bard, Vampire;
- Have a tank character - Protector, Warrior, Reaper;
- Include ranged and AoE damage dealers - Mage, Shooter, Assassin;
- Repair equipment and stock up on HP and MP potions before the expedition;
- Always defeat mobs before approaching bosses.
Following these recommendations will significantly increase your chances of successfully completing the expedition.
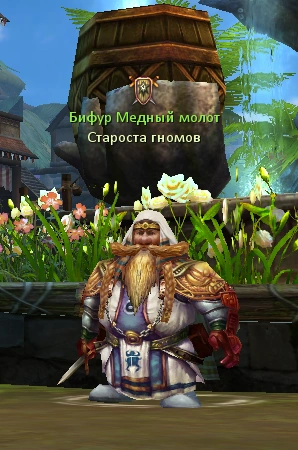
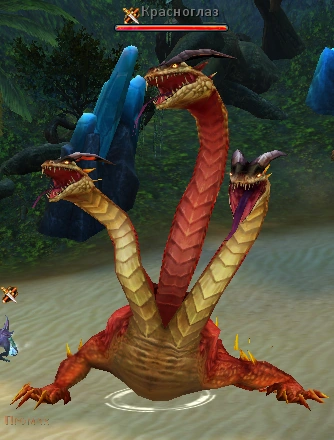
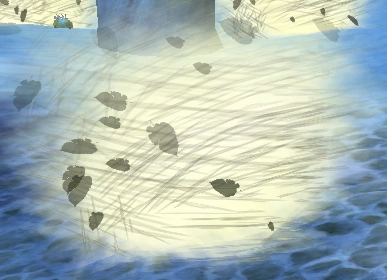
Upon entering the dungeon, you will see a familiar landscape of the Winemakers' Village in Eldaram. However, behind you is the "Mnemonic Stone of Exit," surrounded by mist, indicating that you cannot pass through. Ahead, monsters are attacking dwarves! These are the Toad Minions. You can help the dwarves or carefully bypass them. At the foot of the mountain, you will encounter the first boss - Redeye.
Redeye
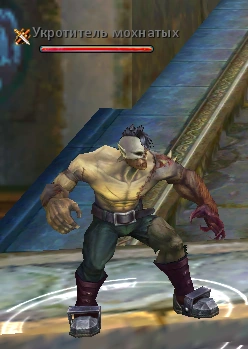
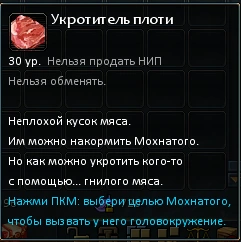
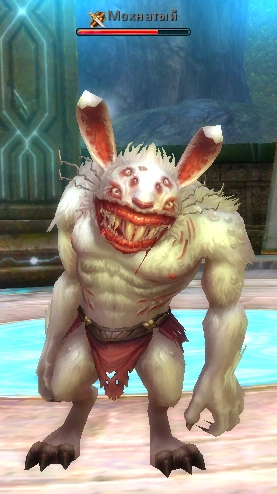
Tamer of the Furry
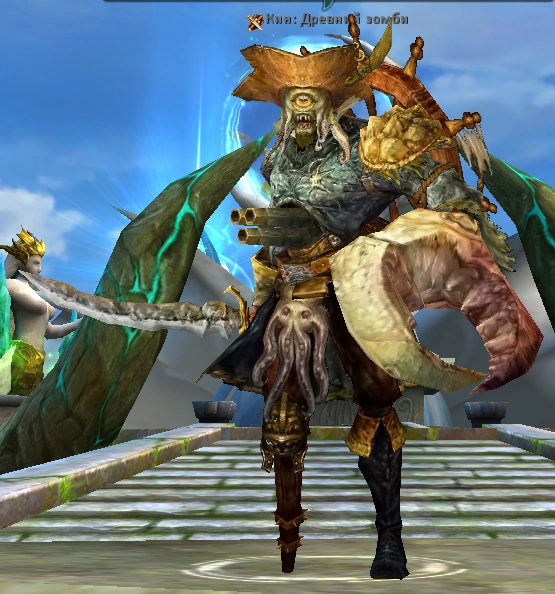
Kin the Ancient Zombie

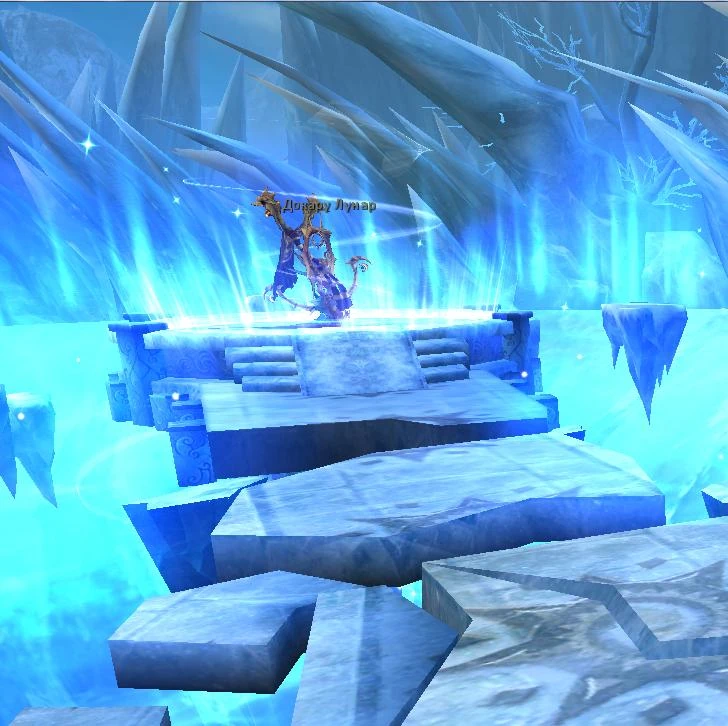
Dokaru Lunar
This concludes the expedition.
Resources
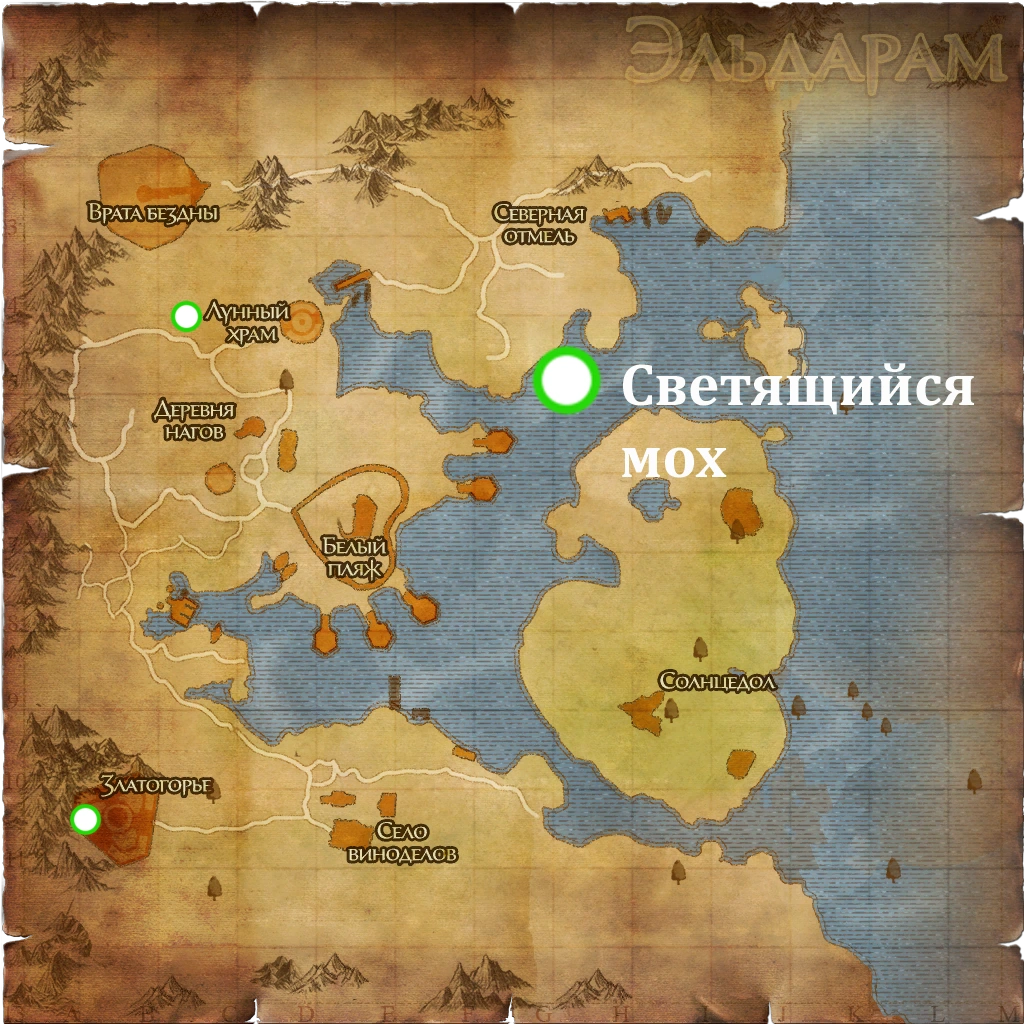
In addition to regular ores and herbs, the Gates of the Abyss features Glowing Moss, which yields Shining Moss. To gather it, you need a level 1 Herbalist profession and a shovel.
- Shining Moss - a resource needed to create special crystals.
FAQ
Q: Required level to enter Gates of the Abyss? A: Level 88+ recommended.
Q: Solo or group? A: 10-player raid.
Q: What's the most-wanted drop? A: Endgame raid gear (one tier below Hand of Storms BiS), demonic-themed cosmetics, rare consumables.
Q: How often can I run it? A: Most endgame instances and raids have weekly or daily lockouts to prevent reward farming. Check the entrance NPC for current cooldown timers.
Q: Worth bringing fresh-leveled characters? A: Generally no — endgame content punishes under-geared parties. Reach the level cap and gear up via dailies + arena before attempting.
See Also
- Hand of Storms — top-tier raid
- Demons (lore) — Abyss connection lore
- World Bosses — open-world endgame bosses
- Arena — competitive PvP
- Daily Quests — alternative income
- Main site: Class guides · Class guide 2026