Hand of Storms
Hand of Storms — flagship endgame raid (10-25 players) with multi-phase bosses. Level 90 cap. Drops BiS weapons, faith-tier 5+ talismans, raid-only mounts. Cap-90 BiS source.
Overview
Hand of Storms is one of Forsaken World's endgame raids — a major endgame raid encounter — multi-phase boss fights with formal raid mechanics, requiring 10-25 players for full progression. Hand of Storms is one of FW-Wizard's flagship endgame raids, offering top-tier gear that defines the cap-90 BiS pieces.
This article covers entrance requirements, encounter mechanics, drop tables, and progression strategy. For broader endgame planning, see World Bosses and Arena.
Hand of Storms
The Hand of Storms is a dungeon available to players from level 75. It is essential to include a priest and a bard with the "Light" branch in your party, as you might die frequently. The rest of the team should include 1-2 AoE damage dealers, and the rest can be of your choice. For beginners, it is highly recommended to have 2 AoE damage dealers. The class is not crucial here: it can be two mages or two marksmen. There is no equipment drop here. To enter the instance, speak with the NPC named Martin Sarge in Hossinger (standing in the Twilight Rest under the tree) or use the automatic team matching system.
Before you venture into this dungeon, let me tell you a few interesting facts about the Hand of Storms. You may have noticed that the map shows a group of separate halls. Each hall is an independent location that you can only enter if you have completed the previous one. The first hall is the resurrection point after death and, unlike all others, does not have bosses inside.
Another important feature of the dungeon is that you can enter it 100 times a week, but you can only receive rewards once a week, similar to the Nightmare Carnival. If you are the party leader and have already completed the Hand this week, Athenia will not open the portal to the next hall for you. This applies not only to you but to your entire party. If you want to visit the instance multiple times a week, you need to pass the party leadership to someone who has not completed it this week.
Reward: A large amount of experience and faith points for each boss defeated, as well as Hero's Glory, which can be exchanged with NPC Natalie in the Hall of Fame in Hossinger for purple revaluation scrolls, or with NPC Cassandra Weir for hero set parts or items for its upgrade.
You can check your progress in the Hand at any of the crystals inside the instance or with Martin Sarge in Hossinger. It looks like this:
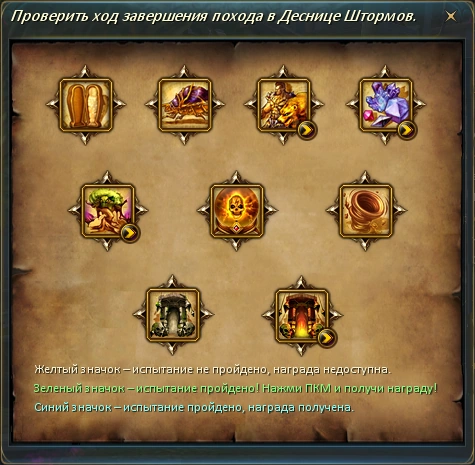
If the emblem of one of the rooms is colored green, it means you have completed this room but have not taken the rewards for completion. If one of the emblems is colored blue, you have already completed the room and taken the reward.
If you are ready to embark on a path of challenging trials, speak with Athenia, and she will open the portal to the next hall that you have not yet cleared. This is very important because if you suddenly decide to leave the Hand after clearing one of the halls, you will not lose anything. But remember, once you enter the next hall with a boss, there is no turning back. Defeat or die.
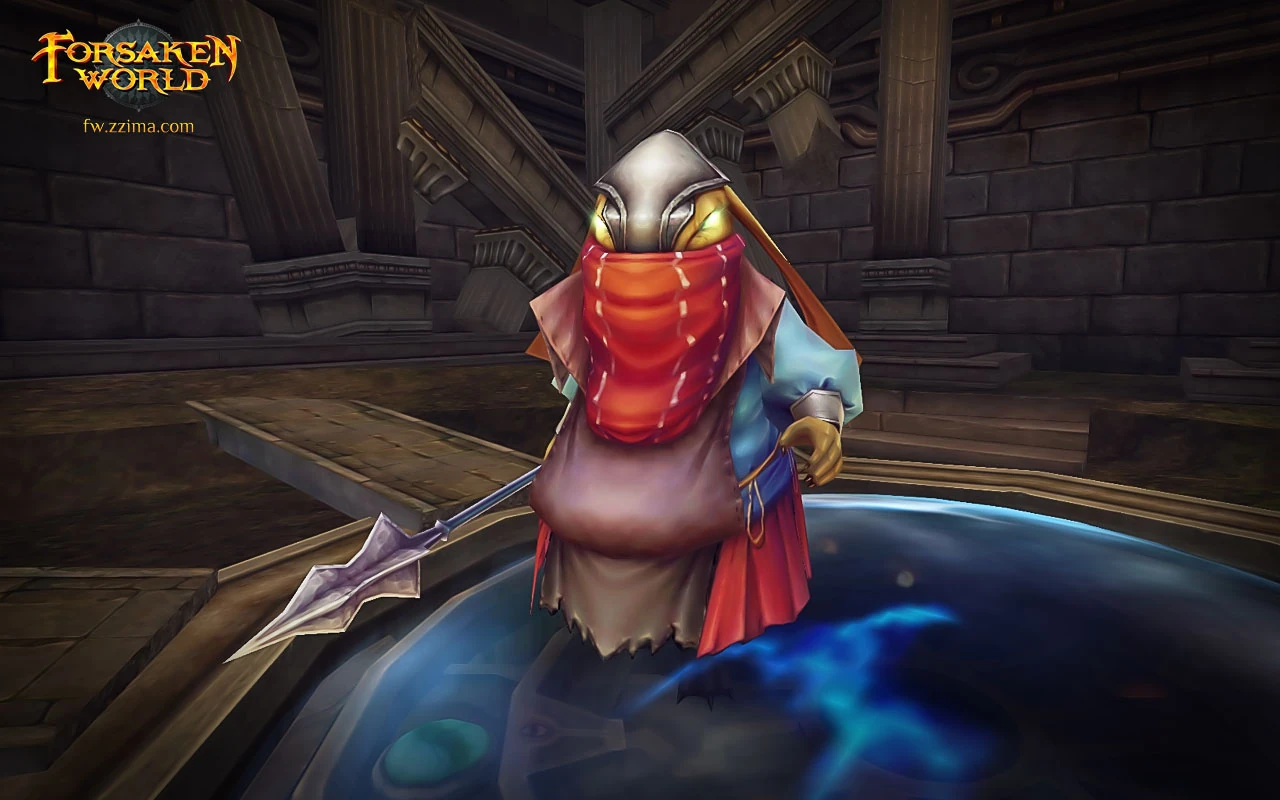
First Boss: Lord of the Dead Heju-Hor
Upon arriving in the dungeon, you will find a long-empty room. Don't despair! The boss is hiding and will not appear until players stand on the lid of his cage in the center of the room.
Ah, here he is, the Lord of the Dead. His abilities are as follows:
- Reduces your maximum HP and defense while you stand on the cage lid.
- Putrid Poison. Slows and greatly reduces attack power.
- Poison Dispersion. Deals damage over time. The effect weakens depending on how far you are from the poison source (the boss).
- Infection. Slows and reduces attack power, healing effect, and mastery of all elements. Every 5 seconds, the poison will "transfer" from you to another party member within a 6-meter radius.
- Wind Blade. Reduces healing effectiveness. You cannot move or use skills.
- The boss will often give instructions to players. Whatever it is, follow them! During the battle, the figure of Istar will break, spreading poison clouds throughout the hall. Anyone caught in the cloud will take a lot of damage and likely die.
- Damage Return. Hits painfully with its own damage. Do not hit the boss if you see a red-white buff on him.
- Points to a "wounded" player, naming their nickname with the phrase "possibly wounded." At this moment, at least one party member needs to approach the sufferer and share the sudden massive incoming damage.
Tactics: It's quite simple—avoid poison accumulation and maintain your health by all possible means.
After defeating the boss, an NPC teleporter will appear. Talk to her, collect the rewards, and proceed to the second hall.
Second Boss: Tartar the Exploder
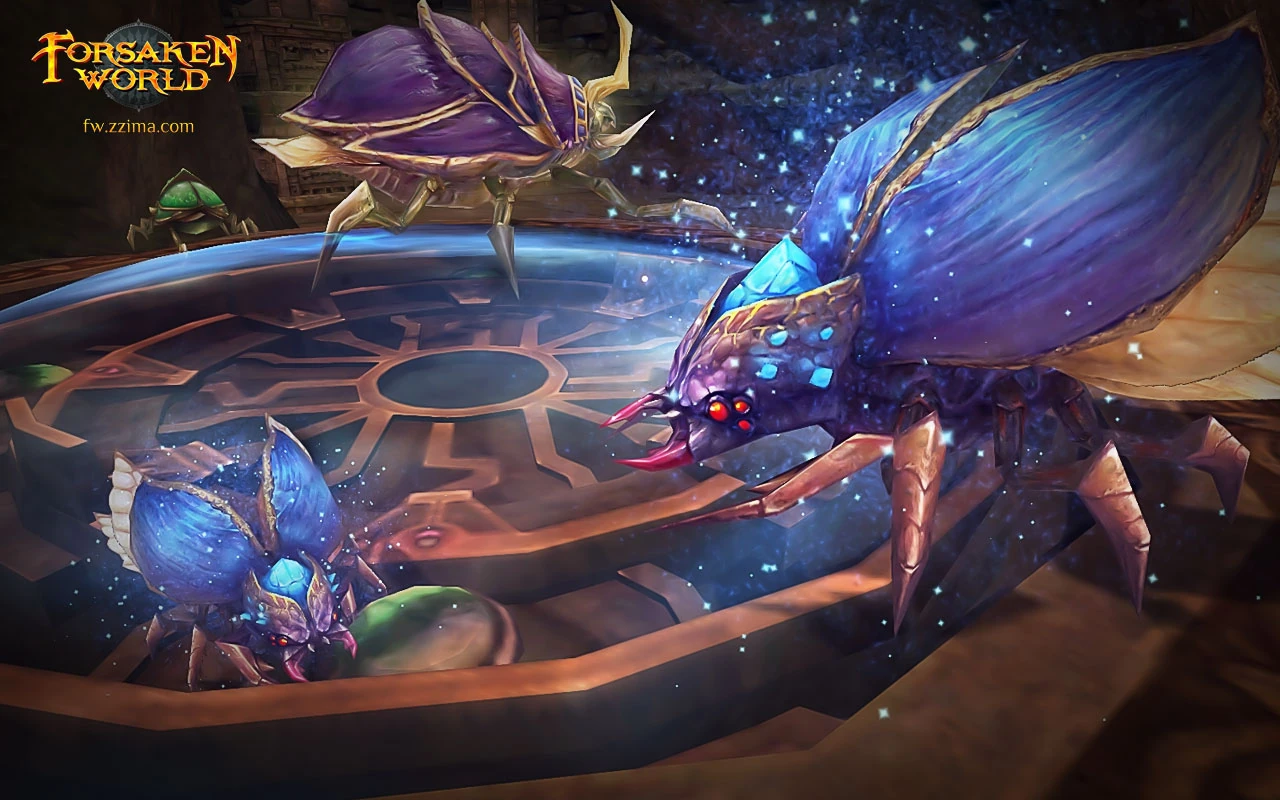
Entered the hall, see the scarab? That's your next client. He won't attack you until you show aggression, giving you a chance to prepare better for the battle.
The first thing you need to know about the boss is that he doesn't fight alone. The huge beetle will immediately summon smaller explosive insects, and you MUST kill them. Otherwise, they will kill you. That's why we brought mass DPS with us. Brought two? You won't regret it. There will be three types of bugs. Some of them, in addition to their unique skill, have the ability to reduce your attack, defense, and maximum HP. Their debuff in the form of an unpleasant skull can and should be removed as soon as possible using items that drop after the bugs' death.
Let's consider each of them.
- Small blue bugs. They just run, apply the debuff described above, and attack. Simple enough?
- Explosive larvae. They have less health, but if not killed within a certain time after appearing, they will start exploding. Upon explosion, you will lose exactly half of your current health, and the boss and blue bugs will recover a certain amount of health.
- Green bugs are the most dangerous type. Yes, they drop excellent antidotes. Yes, they are small. Yes, they have very little health compared to the others. Why does everyone tremble at the mere mention of green in the second hall? Because if they explode, you will die instantly. Boom—instakill. Trembling?
- Boss immunity. As long as the small bugs live and thrive, damage to the boss does not go through. Another reason to get rid of them as quickly as possible.
The boss has no other scary tricks. Eliminate the bugs, consume the antidote, hit the boss, and happiness will be yours. Once you deal with the scarab, a teleporter will appear. Heal up and jump into the third hall.
Third Boss: Djinn Samael or Rabbit Guardian Mizar
This hall will be interesting. Notice the "or"? Yes, there are two bosses here. But you will only have to kill one, randomly chosen by fate. And this is important!
When you attack the boss, a moving magic circle will appear in the hall. The circle will apply a debuff depending on which boss you had to attack. If you hit Samael, the circle will drain mana. If you hit Mizar, it will reduce attack and all types of mastery. Additionally, each boss will summon weak mobs that attack one party member, gnawing painfully, slowing them down, and refusing to aggro on anyone else, including the tank. Deal with them quickly.
There will also be spreading poison used against you, so keep away from the infected party member. Much more dangerous are a couple of tricks up these cunning bosses' sleeves. The first trick is that you will be given commands, such as "don't use this skill" or "come closer/move away." Disobey, and you'll take a massive amount of damage, possibly even an instakill. Forbidden skills: "Instant Strike" (warrior), "Counterstrike" (protector), "Deadly Grip" (assassin), "Horror Shot" (marksman), "Ice Arrow" (mage), "Freezing" (priest), "Whip of Darkness" (vampire), "Water Melody" (bard).
The second trick is simpler: at a random moment in the battle, the boss may stop attacking and give you 20 seconds to hit him for free. Why would he be so kind to you? This is a way to open hero mode and sic the second boss on you (see below).
So, if your party is strong and you follow the bosses' instructions, you will quickly pass this room. The next hall is the last one. Get ready.
Heroic Mode Opening
If your party's damage is very high, you will have a chance to open hero mode. To do this, you need to not die in this room and pass the challenges given by the boss: deal as much damage as possible in 20 seconds. Once you complete the challenge a second time, the second boss will jump on you, who will also use his signature abilities. But you need to finish off only your current boss, and then you will be provided with two NPCs with a reward.
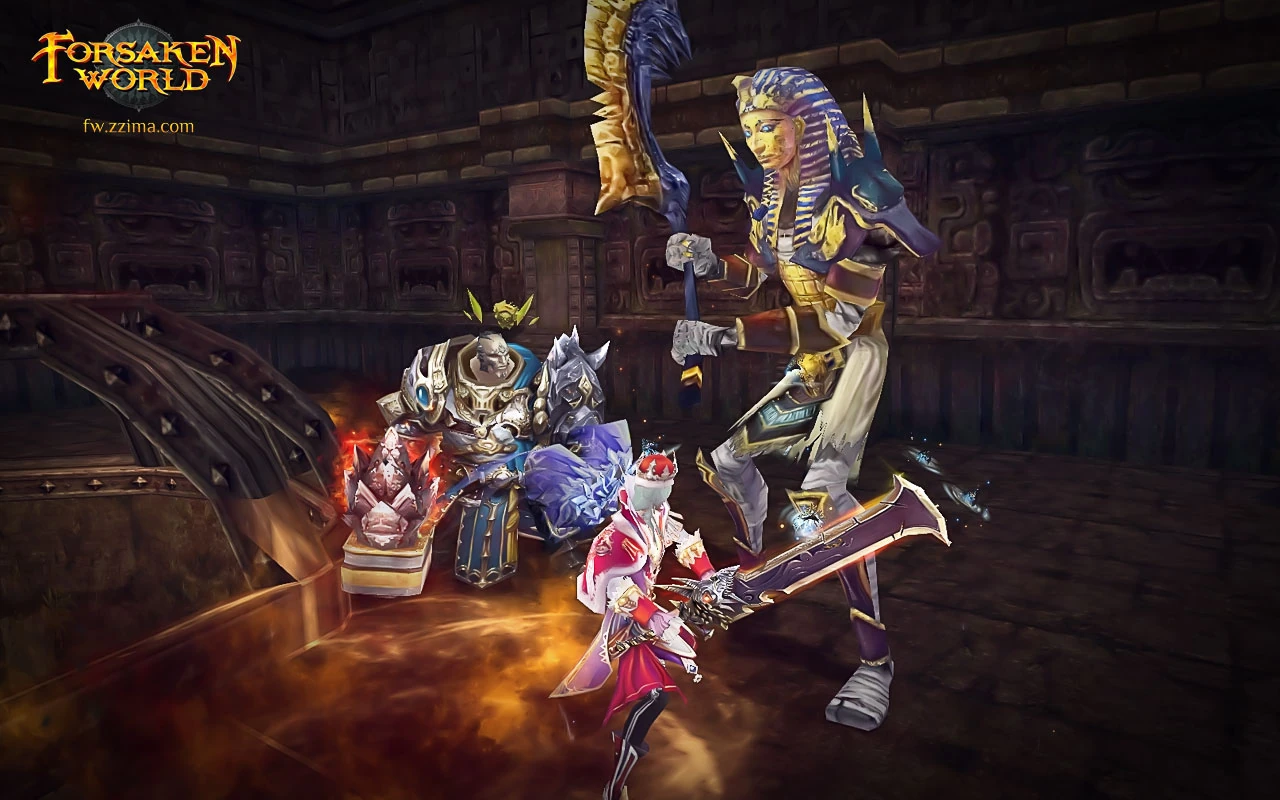
Fourth Boss: Mountain Demon Erdon or Mountain Demon Jade
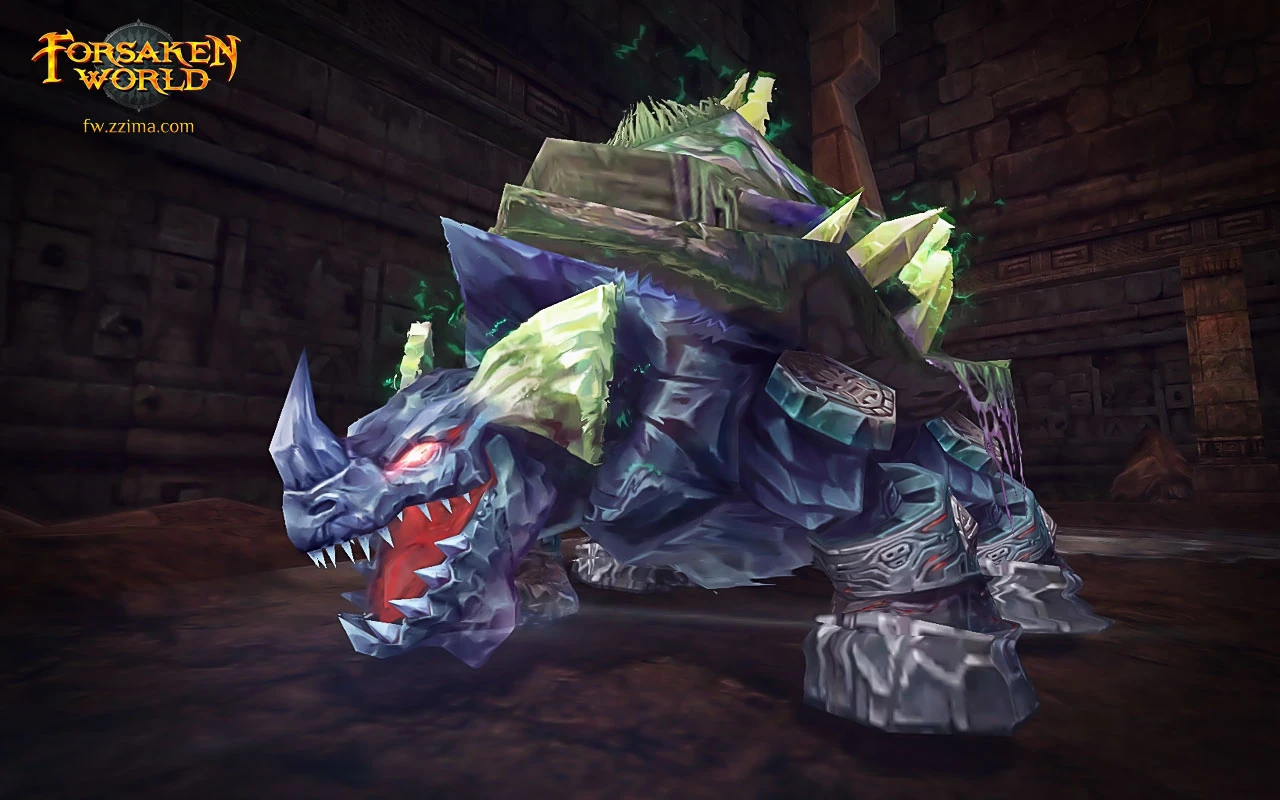
Earlier, we mentioned that you would be interested in choosing the boss of the third hall. And here's why: there are two bosses here too, but we only fight one, and they appear randomly.
The giant turtles have many common abilities. First, they have a lot of controlling attacks:
Now, let's describe the scariest common ability: at a random moment, two or three party members will become its targets. The main thing: DO NOT STOP MOVING. Otherwise, you will take damage that will likely kill you. Do nothing, don't attack, don't heal, just move, run wherever you can. Priests, when the boss calls their name, are STRICTLY forbidden to cast angelic song.
So, you know what awaits you. Gather your courage and jump into the hall. The first thing you will see is the boss's mirage. It will use some common controlling abilities and slowly die. At some point, you will notice that the creature's soul seems to be trying to escape. It needs to be killed - its death will summon the true boss. Once you dispel the mirage, the real boss will appear.
-
Mountain Demon Erdon: He has more health and attack than the mirage. In addition to all the common abilities described above, Erdon can fill the hall with clouds of poisonous fog, which will poison, weaken, and control anyone caught in the cloud, not releasing them until the cloud disappears. Crystals also appear, which, if not destroyed within 10-15 seconds, will reset the OM points of party members located close to these crystals.
-
Mountain Demon Jade: He has much more health and attack than the mirage. Jade does not have poison, but he has another very strong ability. During the battle, he can cover half the hall with glowing circles. And, of course, you better not linger on them—you'll die. In all other respects, the boss is the same as the mirage and Erdon. He also summons crystals, which, if not killed within 10-15 seconds, will deal 25% of maximum HP damage to nearby party members, including pets. The number of crystals exploding nearby affects the damage received.
Heroic Mode Opening
The conditions for this are as follows: defeating the boss without deaths and completely exterminating the exploding crystals on HP and OM three times in a row. In case of opening hero mode, demon toys periodically appear in the hall, and the essence is to equalize their health. If you fail to do this, they will manage to instakill you. When you return to the boss, you will have to open heroic mode again. You can simply not touch them.
Fifth Boss: Enchanted Elf Tree
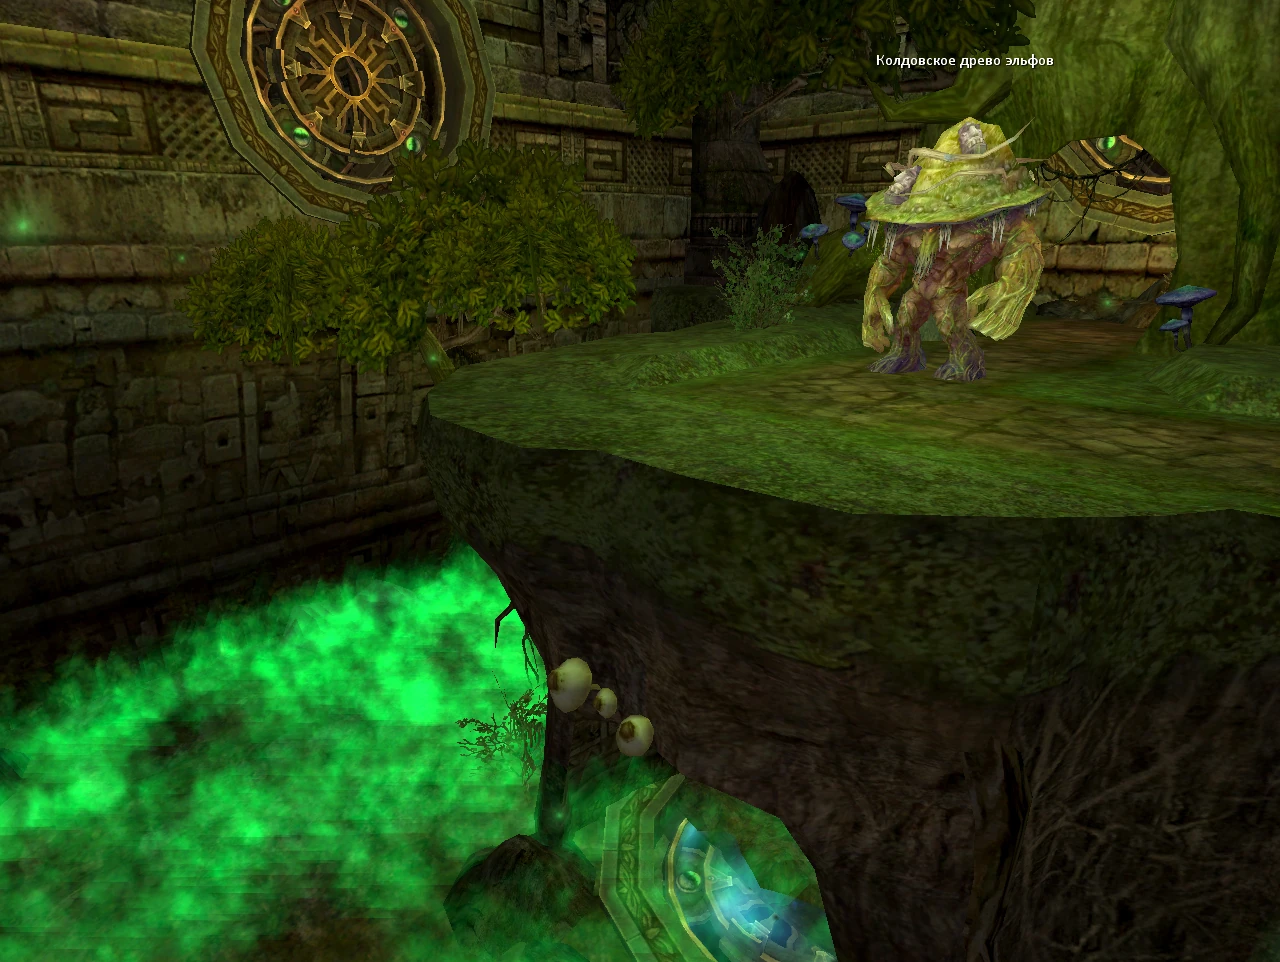
So, the hit parade of new bosses in the Hand opens with this miniature copy of a mossy tree. What will it delight us with? The boss hits quite tolerably, stuns the tanking player, and applies debuffs to the party.
The first debuff "Blood Curse" acts like bleeding. That is, at one fine moment, the party's HP suddenly drops sharply. You can get rid of the debuff by jumping into a pit with green fog. Prolonged stay in the fog is very undesirable because the green gas applies the effect "Bad Weather," which includes silence, reduces mastery stats, reduces the effectiveness of received healing, and removes HP - but does not kill, leaving 1 health point. Therefore, jump in and immediately run out. It should be noted that the debuff is not applied to the tanking player, and they can hit the boss calmly. If the group has a good support: a competent priest and an equally competent light bard, it makes sense to try to heal the escaping HP, which is widely practiced on European servers.
The second debuff "Demon's Punishment" steals mana from players with any skill attack. This miracle lasts for a short time, burning mana quite tolerably. To prevent a situation of complete mana absence, potions or drinks that restore mana over 15 minutes are recommended. For example, Dream Wine.
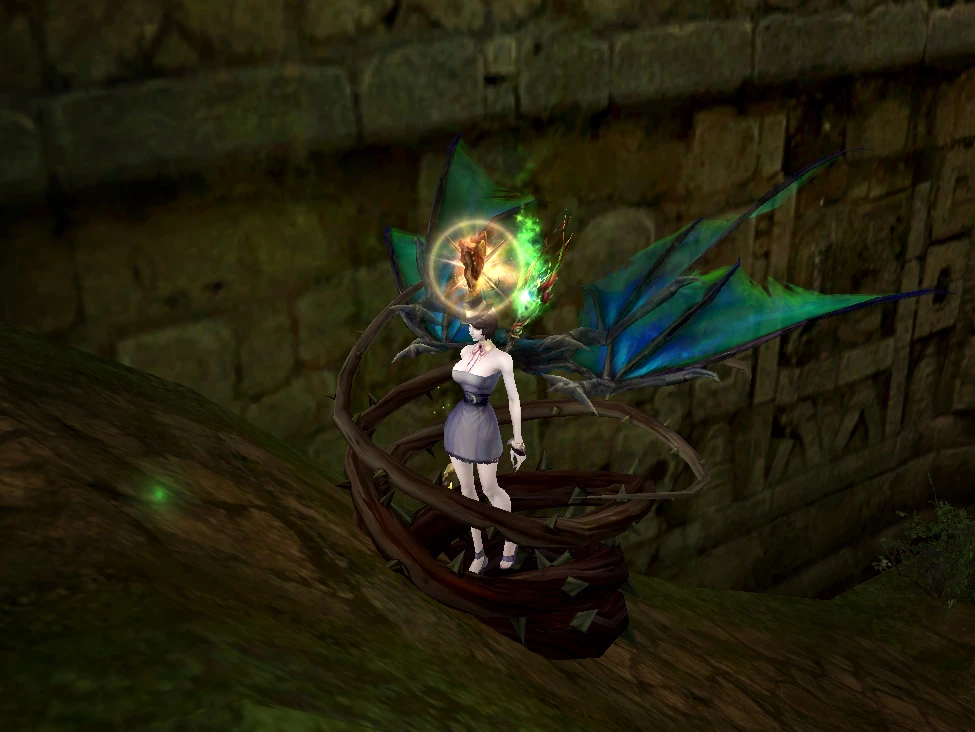
The third debuff "Death Vines" is the most dangerous. This trouble happens to one party member and, if no urgent measures are taken, kills the unfortunate person exactly 30 seconds later. No options. Neither healing nor bubble will save. Only resurrection or mage's ice block. How does it work? A red message suddenly appears in the system chat with the victim's name, the victim cannot move, they are silenced - they cannot do anything to save themselves. In half a minute - we will say goodbye to them. What to do? Before hitting the boss, two people are chosen in the party, preferably ranged, who will be responsible for removing the debuff. Why two? The second player insures the main "remover" in case this trouble happens to them. So, back to our situation: the victim is entangled in the debuff vines. In the far corner of the room, a single vine appears, which is killed with one skill. The vine drops "Juice of the Cursed Sprout." This drop (an antidote) should NOT be rolled by those not involved in the rescue operation. The drop should go to those saving the debuff victim. Once we get the antidote, target the player with the debuff and right-click the antidote. The player is saved. You have 30 seconds for everything. If our first rescuer gets entangled, the second rescuer helps them. Here, operational actions are crucial. It's better for a mage or dwarf to hit the vine (bard and vampire lack range and have to jump into the fog to kill the vine). And it's important not to roll the drop. If the antidote falls to the player under the debuff, they won't be able to help themselves and will die.
Heroic Mode: The entire party stands in the place where the dark circle should appear and stays there until someone gets the root debuff. After the roots and circle coincide twice, heroic mode will open. WARNING: the target with the roots should not die or be outside the circle until they are removed.
There is also an opinion that to open hard mode, you need to reduce the boss's HP by 40-50% before he throws the first roots.
Sixth Boss: Spirit of Lightning Estevez/Jersey
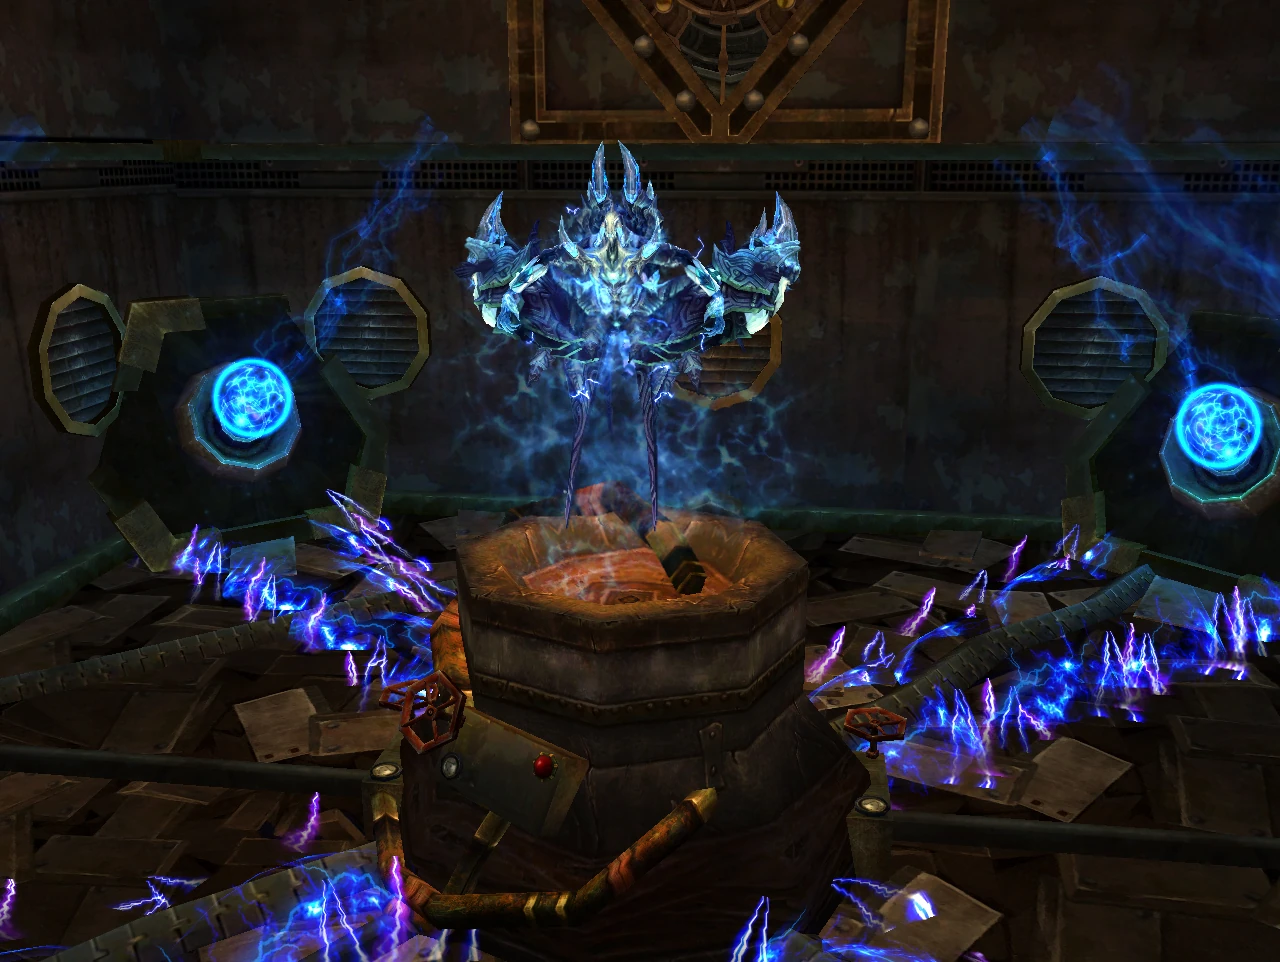
In the sixth room, on a high pedestal, the boss awaits us. It's either Estevez or Jersey. The differences between them are not significant. Depending on whether you hit Estevez or Jersey, a message pops up indicating whether we should stand closer to the boss or move away from him. He fully justifies his name, as we see constant electrical discharges on the floor. The boss is frankly not difficult: his main "trick" is reflect (a.k.a. reflect), meaning he returns part of the damage to players. How do we avoid this? We need to carefully monitor the buffs the boss applies to himself. If we see a buff with the number <1>, we need to stand in the even lines of blue lightning and hit the boss from there; if we see a buff with the number <2>, we hit him simply, standing on the floor.
A debuff is periodically applied to one party member, signaling that the indicated player will soon take significant damage, approximately 80-90% HP. The priest should be attentive.
When Estevez has about 20% HP left, he starts hitting harder and constantly increases his attack power, applying the corresponding buff to himself - it's worth speeding up the pace. In general, killing him is not difficult.
Seventh Boss: Sages Asker, Daiven, or Wynona
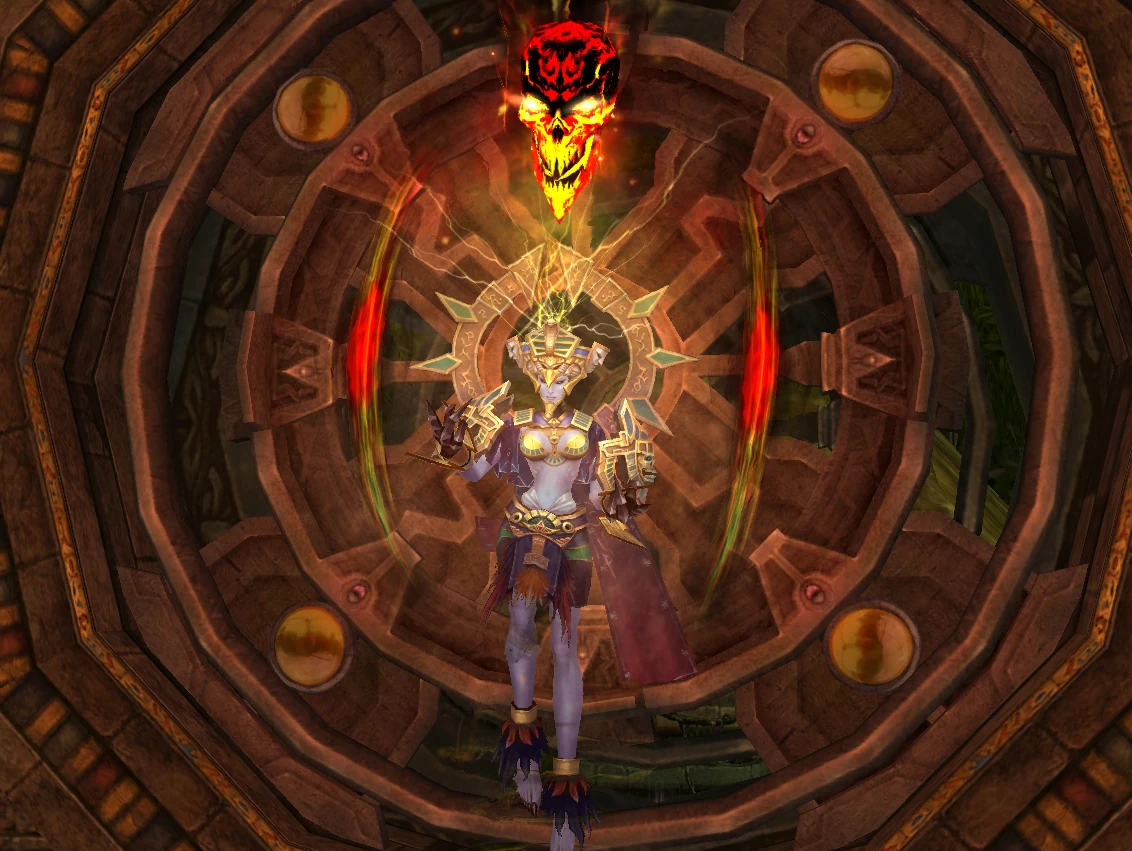
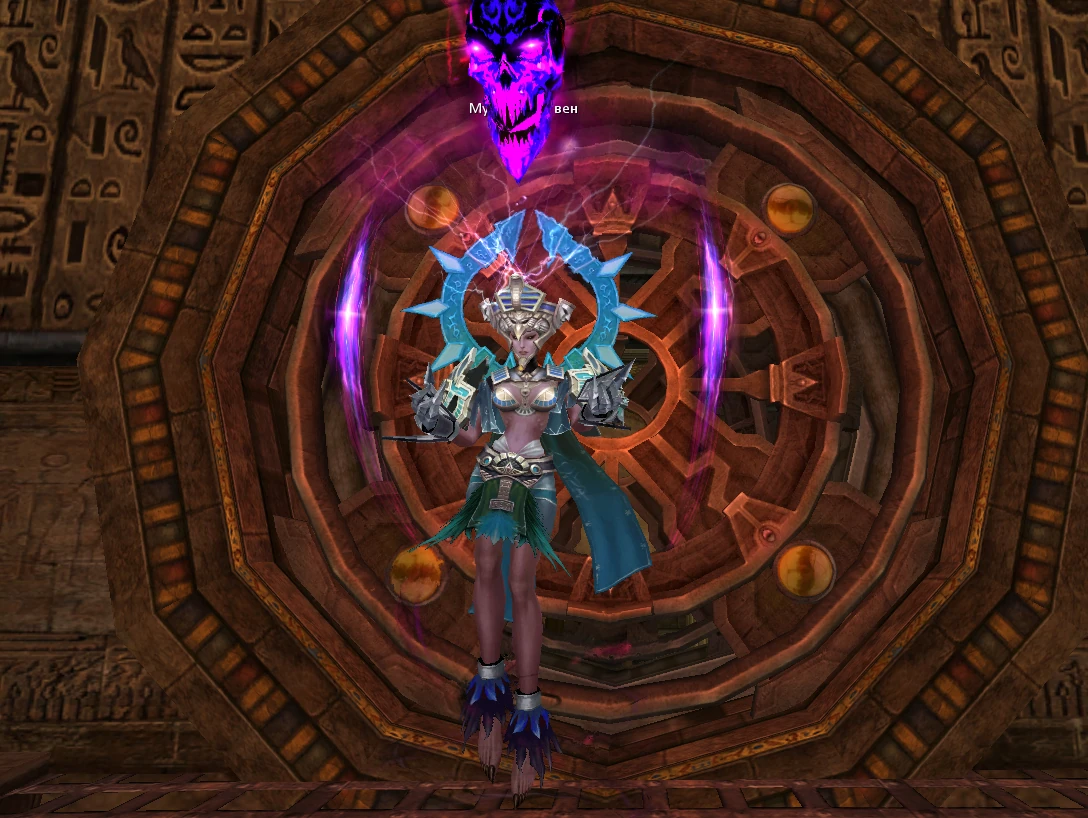
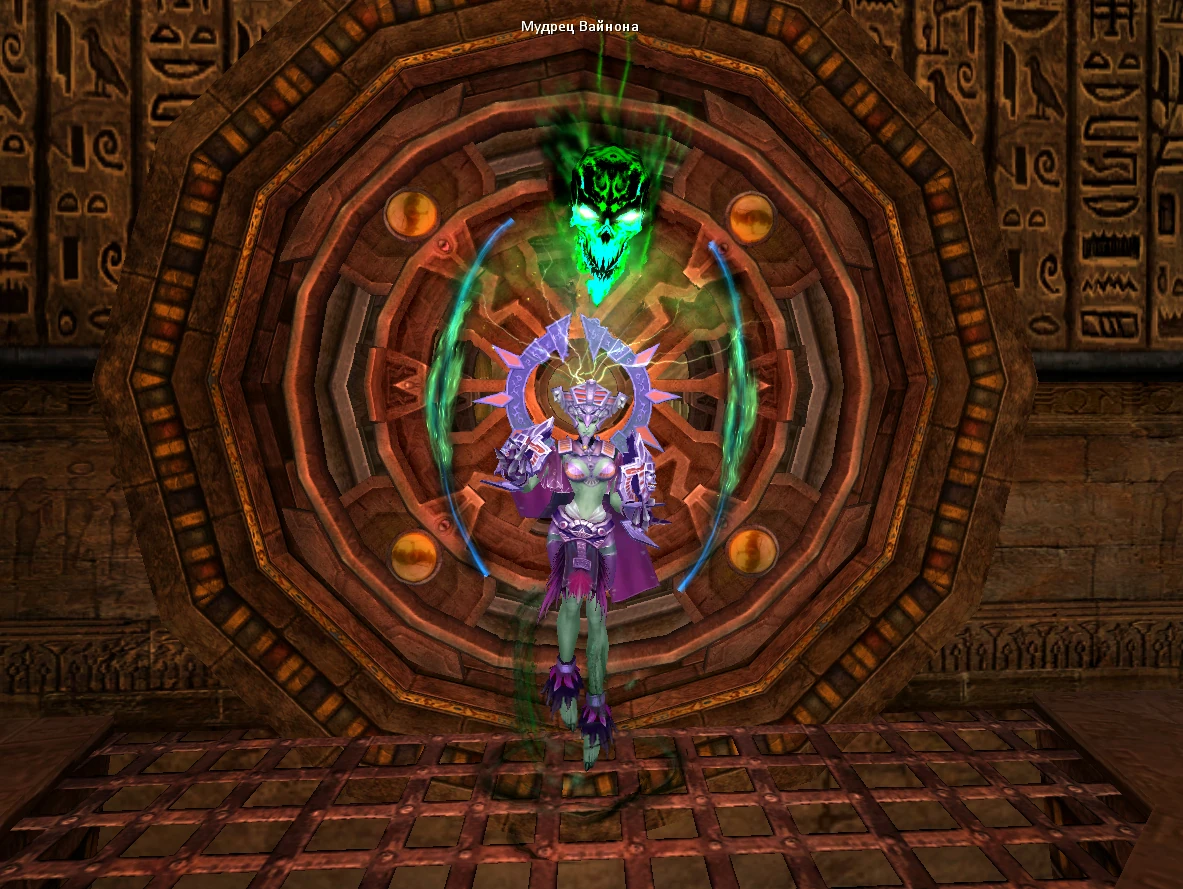
If this boss is not the most difficult, it is certainly the most "mysterious." In the title, we see three names, but there will be two bosses. Who it will be is a question of the Great Chinese Random. How should we act? If the group has a bard, they stand in the center with the priest, while the others split into pairs and deal directly with the bosses, whose HP is equalized if the difference in their health is too great.
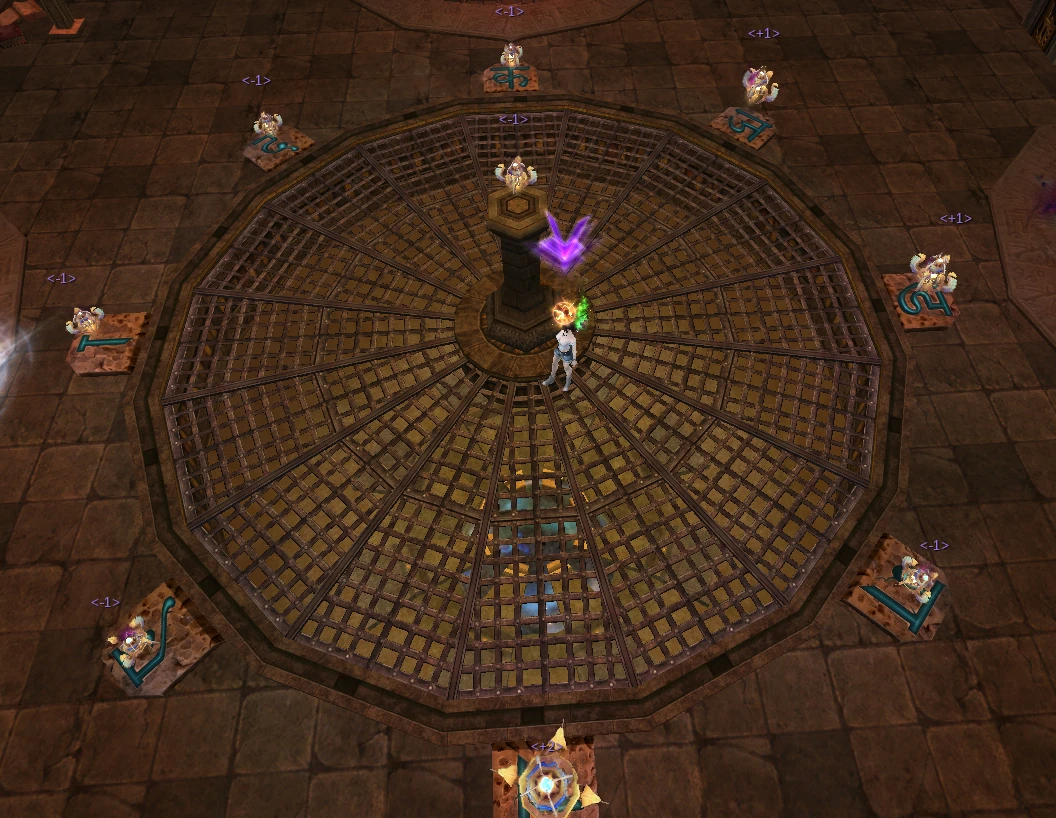
The main feature of this room is the riddles, and they are not simple but mathematical. Each sage has their own riddle, but they all have one thing in common: lamps. So, at a certain moment, the riddles with lamps begin, and they alternate. The task of the bard (or another least damaging party member with a ranged attack) is to control the population of these lamps. The lamps are very fragile, so when they are on the battlefield, it's better not to use mass attacks to avoid killing the party.
Briefly about the lamps: lamps with values -1, +1, +2, +3, +4, +5 appear in a circle - they vary in size: the largest are +5, the smallest, respectively, -1. Lamps are destroyed with one attack.
Types of riddles and their solutions Below are the types of riddles, which we will conditionally divide by bosses, although in 90% of cases, only Asker signals their appearance with messages. Perhaps it's a localization bug, but for convenience, we will title the riddle types according to the bosses they depend on.
-
Asker's Riddle: Here, it's very simple. At a certain moment, Asker shouts: "Hold on!" and names two pairs of numbers, for example, 3 2 and 2 -1. The first number in the pair is the quantity. The second is the type of lamp. All together, this means how many lamps of the specified types should remain on the field simultaneously. In this example, it's three lamps with a value of +2 and two lamps with a value of -1.
-
Daiven's Riddle: Daiven summons a circle of lamps and one lamp on the central column. Its initial value is always -1. Our task is to quickly calculate the sum of all the lamps on the floor and equalize the central lamp to this sum. The central lamp can reach a maximum value of +5. The value of the central lamp increases when we break it. Suppose the sum of all lamps on the field is +1 - this means that the central lamp needs to be hit only once to "grow" to the necessary unit with a plus sign. Be more careful with the lamp. If you accidentally hit it one extra time, you can't return it to its previous value. This will mean the riddle is failed. Failing the riddle results in a very strong hit to the entire party. Failing the riddles three times almost kills the entire party. Be attentive!
-
Wynona's Riddle: Her riddle is the complete opposite of Daiven's riddle. We have a central lamp that we must not hit, and there is a circle that needs to be brought to a sum equal to the central lamp's value (from -1 to +5). Here, it's easier for us to navigate by the size of the lamps. You can also not remove lamps that balance each other (there's no point in wasting time breaking -1 and +1, as they will still give zero in total and not affect the overall value of the circle).
In general, if the party has someone who can quickly calculate and hit the lamps and no one uses mass attacks, killing the bosses will not be difficult.
Eighth Boss: Demon Leader of the Underworld
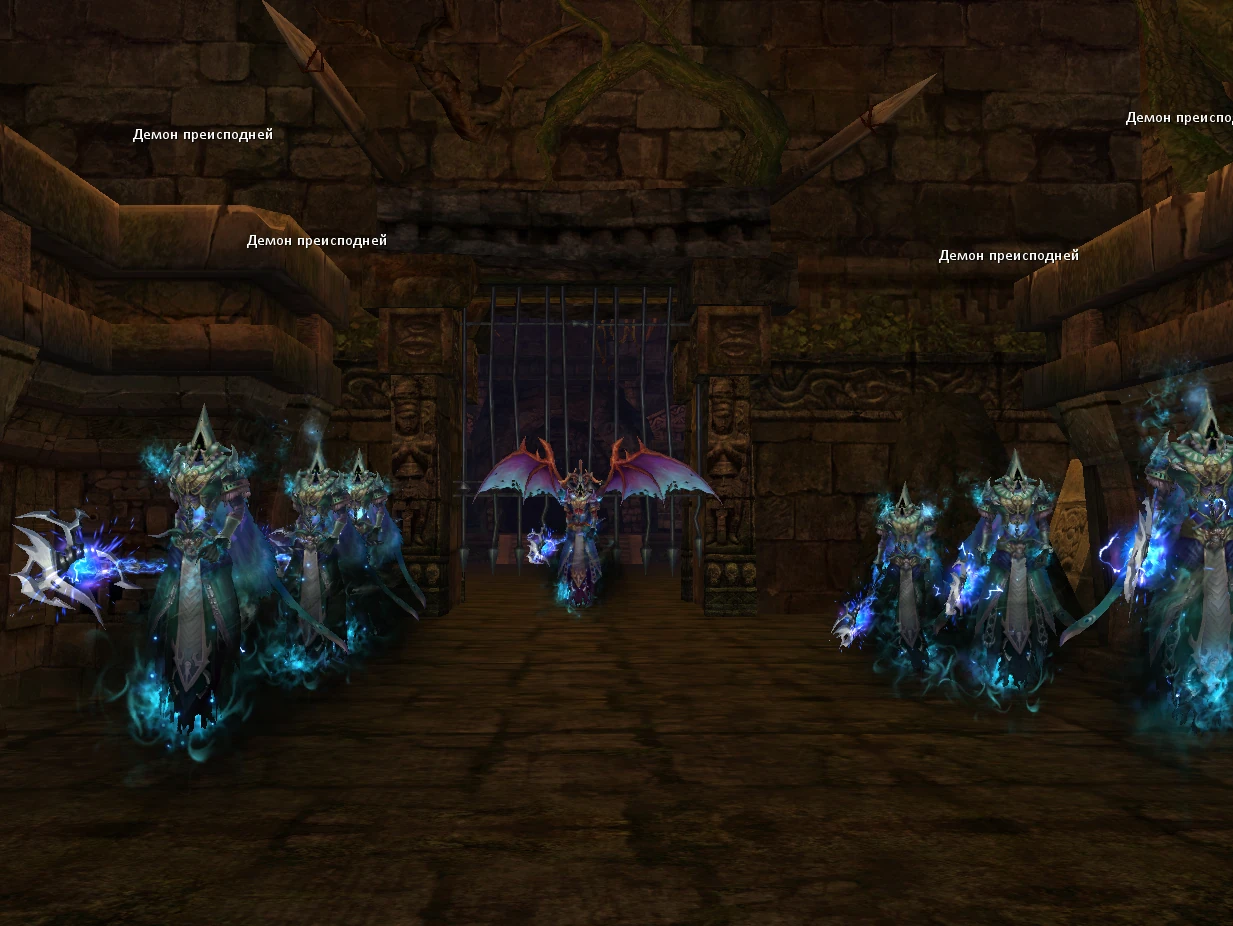
Here he is, the handsome one for whom we need mass DPS. His main feature is summoning mobs. If we don't kill his minions within 15 seconds, we will all die. Yes, exactly. The boss will kill the entire party with one blow and apply a debuff of -200 to all resistances for an hour. It can be removed by exiting the raid one by one at the start, where everyone will return after a failed attempt to send the Demon Leader to his ancestors.
What other minuses and tricks does he have? He applies a debuff to random party members that reduces mastery, making it significantly harder to destroy the mobs. You can get rid of the debuff by standing in one of the dark circles, of which there are three in the hall, one of them, randomly, will save you from the trouble. Also, the debuff on reducing mastery can be removed by a priest in the "Light" branch with the "Light of Cleansing" skill 75+.
The boss also stuns enemies very unpleasantly, which, of course, is not very joyful. Especially if he stunned your fire mage for 7 seconds at the moment of mob summoning.
In general, clear actions by the damage dealers will save the day. The healer and support don't have much influence here. Everyone should hit the mobs without exception. It's highly discouraged to knock them back. That's basically it.
Ninth and Final Boss: Fire Demon Haymos
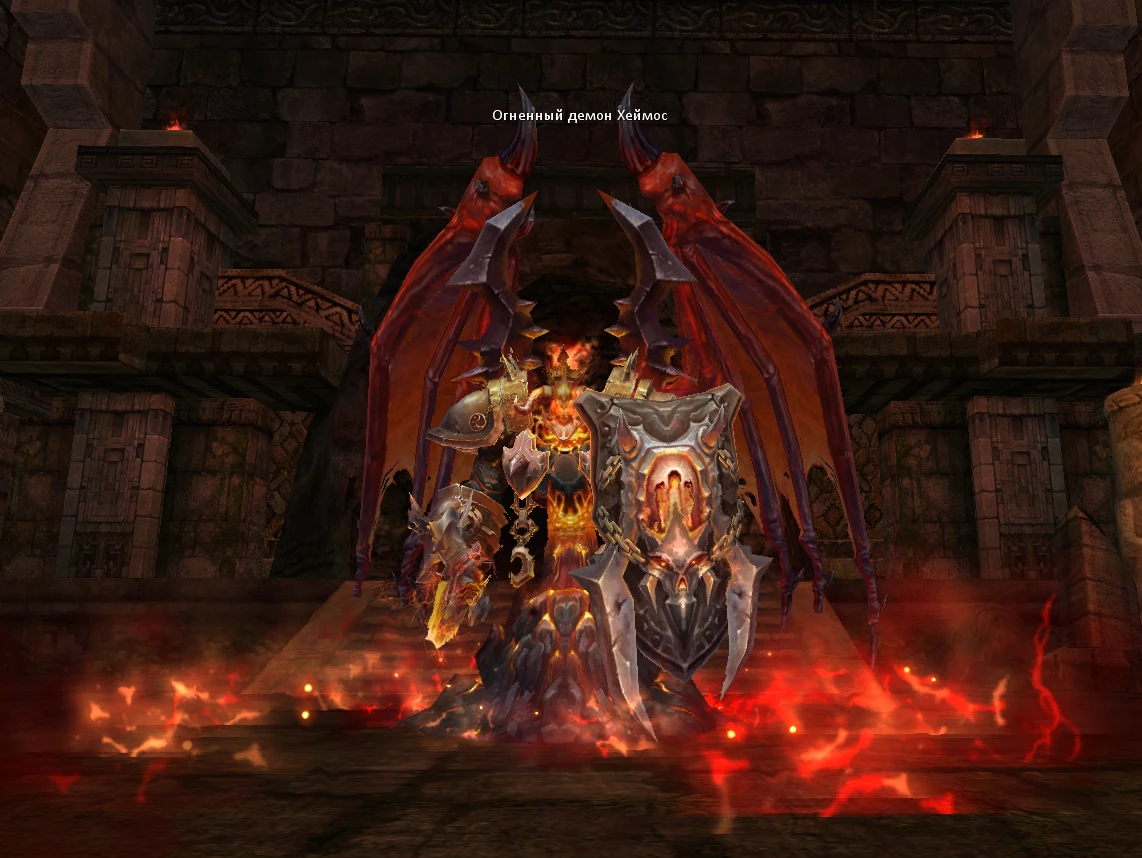
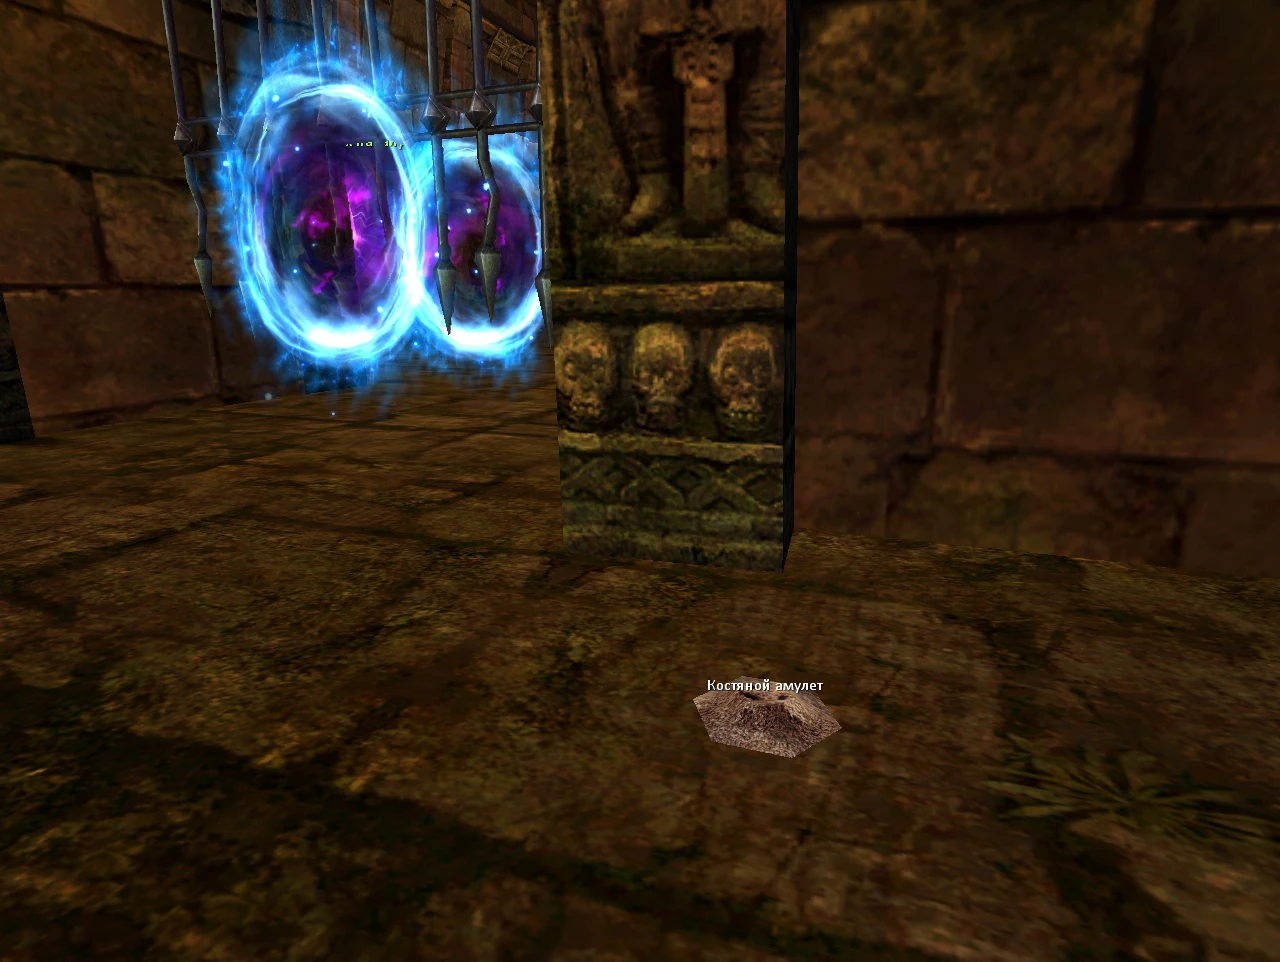
The apotheosis of the entire battle for the Hand of Storms appears before us in all its glory. The first thing we need to do upon entering the room is to collect bone amulets to remove the reflect effect from the boss (similar to dinosaur bones from the crypt surroundings). The items are scattered around the room, near the walls. There are 4 of them, no more will appear - use them wisely.
What does the boss do? He summons a poisonous fog that very, very strongly drains health from the entire party - don't stand in one place for too long. Fortunately, the fog appears strictly clockwise, and it won't be difficult for us to guess where it will catch us next. Closer to his tragic death, the boss activates damage reflection - the collected items will save us from it, just keep an eye on it. Plus, the boss marks a zone in the hall in the form of a triangle and orders the party to stand within its boundaries - if a player doesn't stand there, Haymos will make it very, very painful for them.
In principle, the boss is not difficult - you need to act clearly, move as a group, and don't forget to collect items to remove the reflect.
Hero Mode The party should have enough damage to lower the boss's HP to 25% in approximately 1.5-2 minutes or less.
FAQ
Q: Required level to enter Hand of Storms? A: Level 90 (cap) required.
Q: Solo or group? A: 10-25 player raid; recommended balanced composition (2 tanks, 2-3 healers, rest DPS).
Q: What's the most-wanted drop? A: Top-tier raid gear including BiS weapons, faith-tier 5+ talismans, raid-only mounts.
Q: How often can I run it? A: Most endgame instances and raids have weekly or daily lockouts to prevent reward farming. Check the entrance NPC for current cooldown timers.
Q: Worth bringing fresh-leveled characters? A: Generally no — endgame content punishes under-geared parties. Reach the level cap and gear up via dailies + arena before attempting.
See Also
- World Bosses — alternative open-world endgame
- Talismans — talisman progression from raid drops
- World Bosses — open-world endgame bosses
- Arena — competitive PvP
- Daily Quests — alternative income
- Main site: Class guides · Class guide 2026